Saturday, January 2, 2016

Quilled Key Chain

#Project -366, Day2

After learning the weaving technique, I have been making only thorans and garlands using it. Wanted to make something small and tried a different kind of key chain, which can also be used as a hip chain. As of now I have attached the key ring to it and have not attached any jingles. Soon will add them too and post a picture in this same post. So keep watching for it.

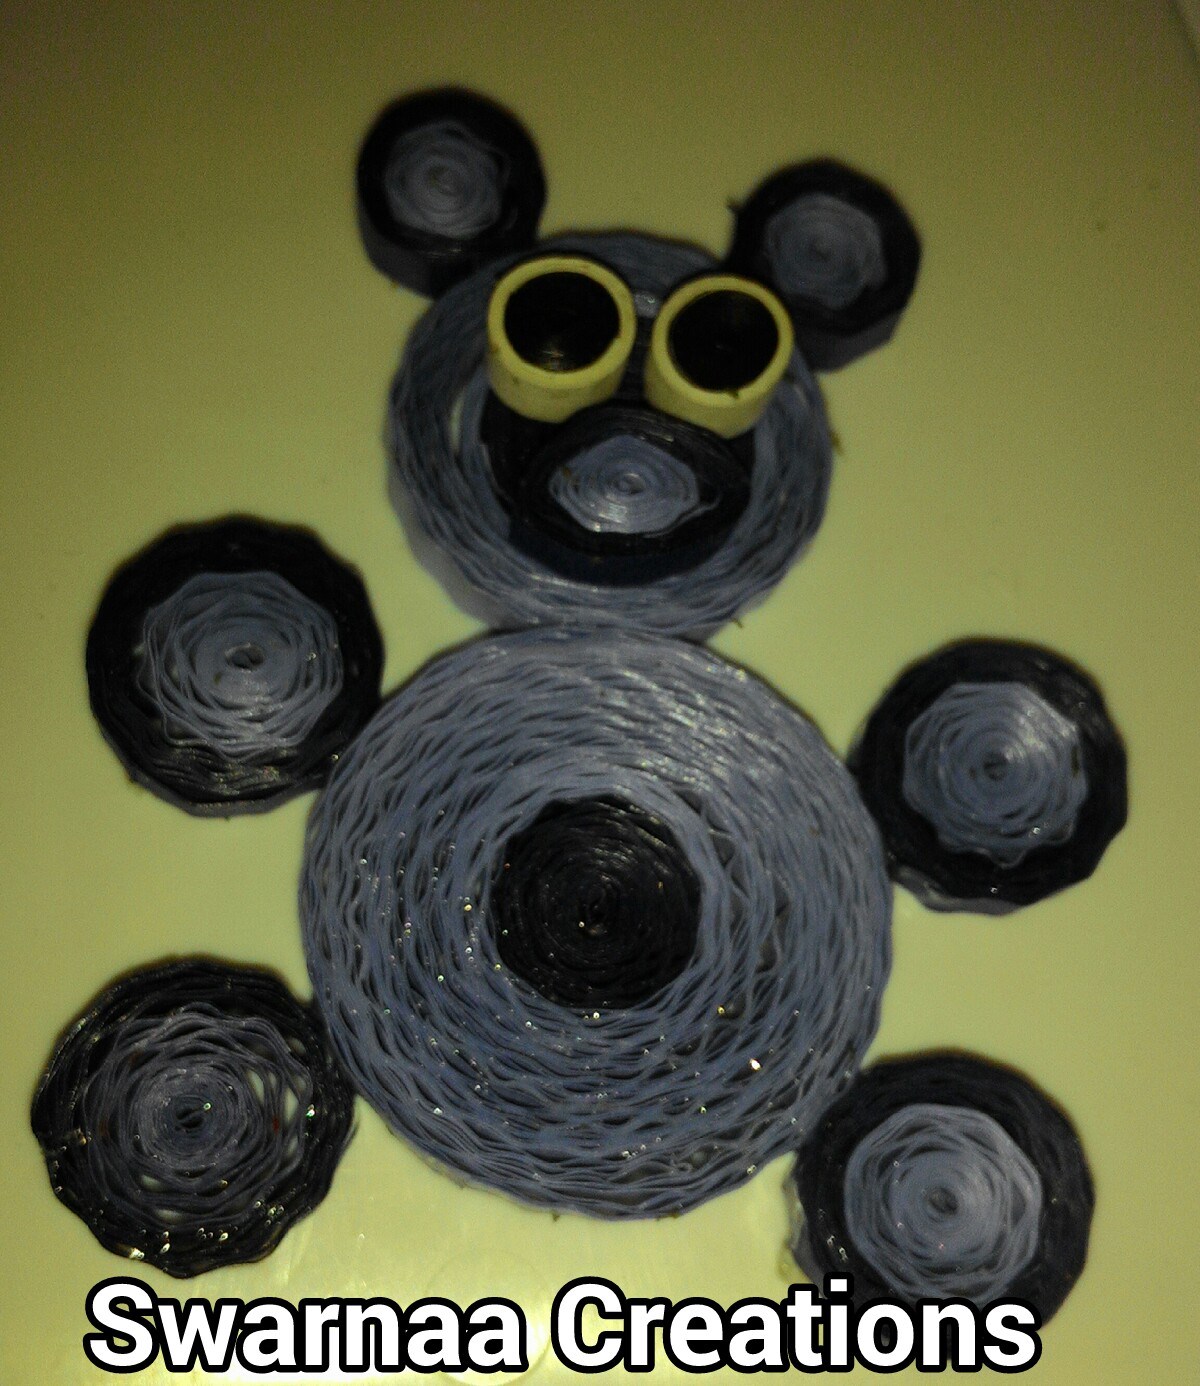
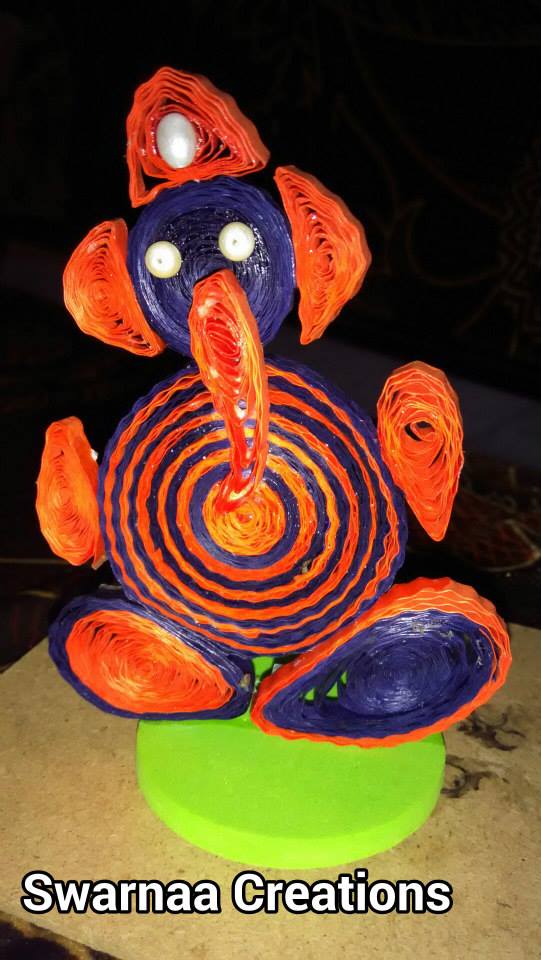
This is what I made for Day 2


Friday, January 1, 2016

Pink Garland with Roses

#Project366, Day - 1

The technique of boondongling in quilling is something different and unique. It doesnot need any tools to make it. The knowledge of proper weaving technique is all that is needed. One can make any colour combinations and this can be made in strips of any size. The bigger the size of the strip, the garland becomes bigger. 2 or 3 mm strips can be used as neck wear. They can also be converted to danglers. In the coming days will post one such set.

Here is the garland made of pink with 3 pink roses in the middle covered with glitter glue to give shiny effect in the night light is made for one of the big pictures that hang in the walls of my parent's home. Hope you all like it just the way I like it too. The garland and the roses are made of 15mm strips.

Video of the same will follow soon.


Happy New Year to all my readers

Wishing all my readers and followers a very very Happy and Prosperous New Year. On this first day of this 2016, we have decided to create and share one different and new project every day. Hope we are able to do it all the 365 days of this year without any hindrance. Hoping to get your continued patronage as ever. 

Thursday, December 31, 2015

Project 366


Wondering what it could be?

I myself wondered what I want to do. Name was conceived for the project but what I had planned to execute was not that clear. Whether it will be 366 crafts or 366 days of crafts. Then I concluded that I will make at least one project a day, either in quilling or in silk thread or in news paper work or anything that I love to create as a craft. It could be for selling, or for gifting or for personal use. But I want to do atleast one project a day all through the 366 days of the next 2016. Hope I succeed in this venture. 

Tuesday, December 22, 2015

The group called Special Techniques

I started quilling only for one simple reason, I wanted to make dolls, and my dream is to fill my golu padis to fill with my own hand created dolls. I was and still am sure that I will not be able to do it with any kind of clay. But I can do with paper strips. Whenever and wherever I get opportunity to find quilling toy making tutorials, I will make sure, I am learning it. More than videos, pictures help me a lot to learn to make things the right way and when one wonderful gentle man in a group in FB announced that he is planning to teach making 3D dolls and asked people to contact him via his number, I jumped in and messaged him. He then added me to the whatsapp group called Special Techniques and lo my journey to learn a lot of things especially 3D figures started from there. It had been 3 months and with my teacher's permission, I will be sharing the projects that we all were taught one by one with pictures.

Not only that gentleman, but each and every one in that group is a wonderful artist by themselves and the way they teach others makes me feel at home and I definitely have learnt a lot of things from all there. 

One of the projects that I have learnt from the group.


The Quilling Crimper tool - An overview

The crimper tool is a device with two cogs and a handle, small and easy to carry in a pocket. This tool helps to make a wavy pattern in quilling strips that will give a unique style to your projects, be it 2D or 3D. When I purchased this tool, way back when I started quilling, ofcourse, I started collecting all the tools one by one seeing the net, I was making few 2D projects and decided to try making them using crimped strips. It definitely was fun making them and kids took turns in crimping the strips. It became a great holiday fun activity too.

Things to be noted while crimping:
5 mm strips get easily crimped, so do 7 mm.
If you donot keep the 10 mm strip properly a half of the strip is not crimped.
The 3 mm strips tend to get entangled in the cogs, so handle it carefully by holding one end of the strip.